


Those who know me in person do also know that I rarely take sugar in tea, there should be no reason provided the tea is at least half decent.
On the other hand, those who know me also do know that I have a sweet tooth, or rather a sweet jaw, to be more precise. And so it did happen that several people have asked about the recipe of my recent Matcha-Cranberry cake which I am happy to disclose here.
The basic recipe is one I learned from my tribe's elder ladies, they were probably hoping I might remember if only it would be simple enough. Anyhow, the basic version is more or less a pound cake or Gleichschwerteig in my native tongue. Cannot get much simpler.
You need 250 gram of each of the four main ingredients, butter, sugar, flour and eggs.* On top of that, between half and one sachet of baking powder is highly recommended for fluffiness. Do. Not. Forget. Never!
And this is it. Even the typical male with just a basic barbecue education should be able the manage. Still, there are some further aspects one might want to take into consideration, so here's the preparation step by step:
- Beat butter and sugar together until creamy.**
- Add eggs one by one and continue beating.
- Mix flour with baking powder (8 to 15g).***
- Add flour and keep beating until you feel the urge to put a spoon inside and try.
- Bake at 160°C in a convection oven or at 175°C with top and bottom heat for about 50 minutes.
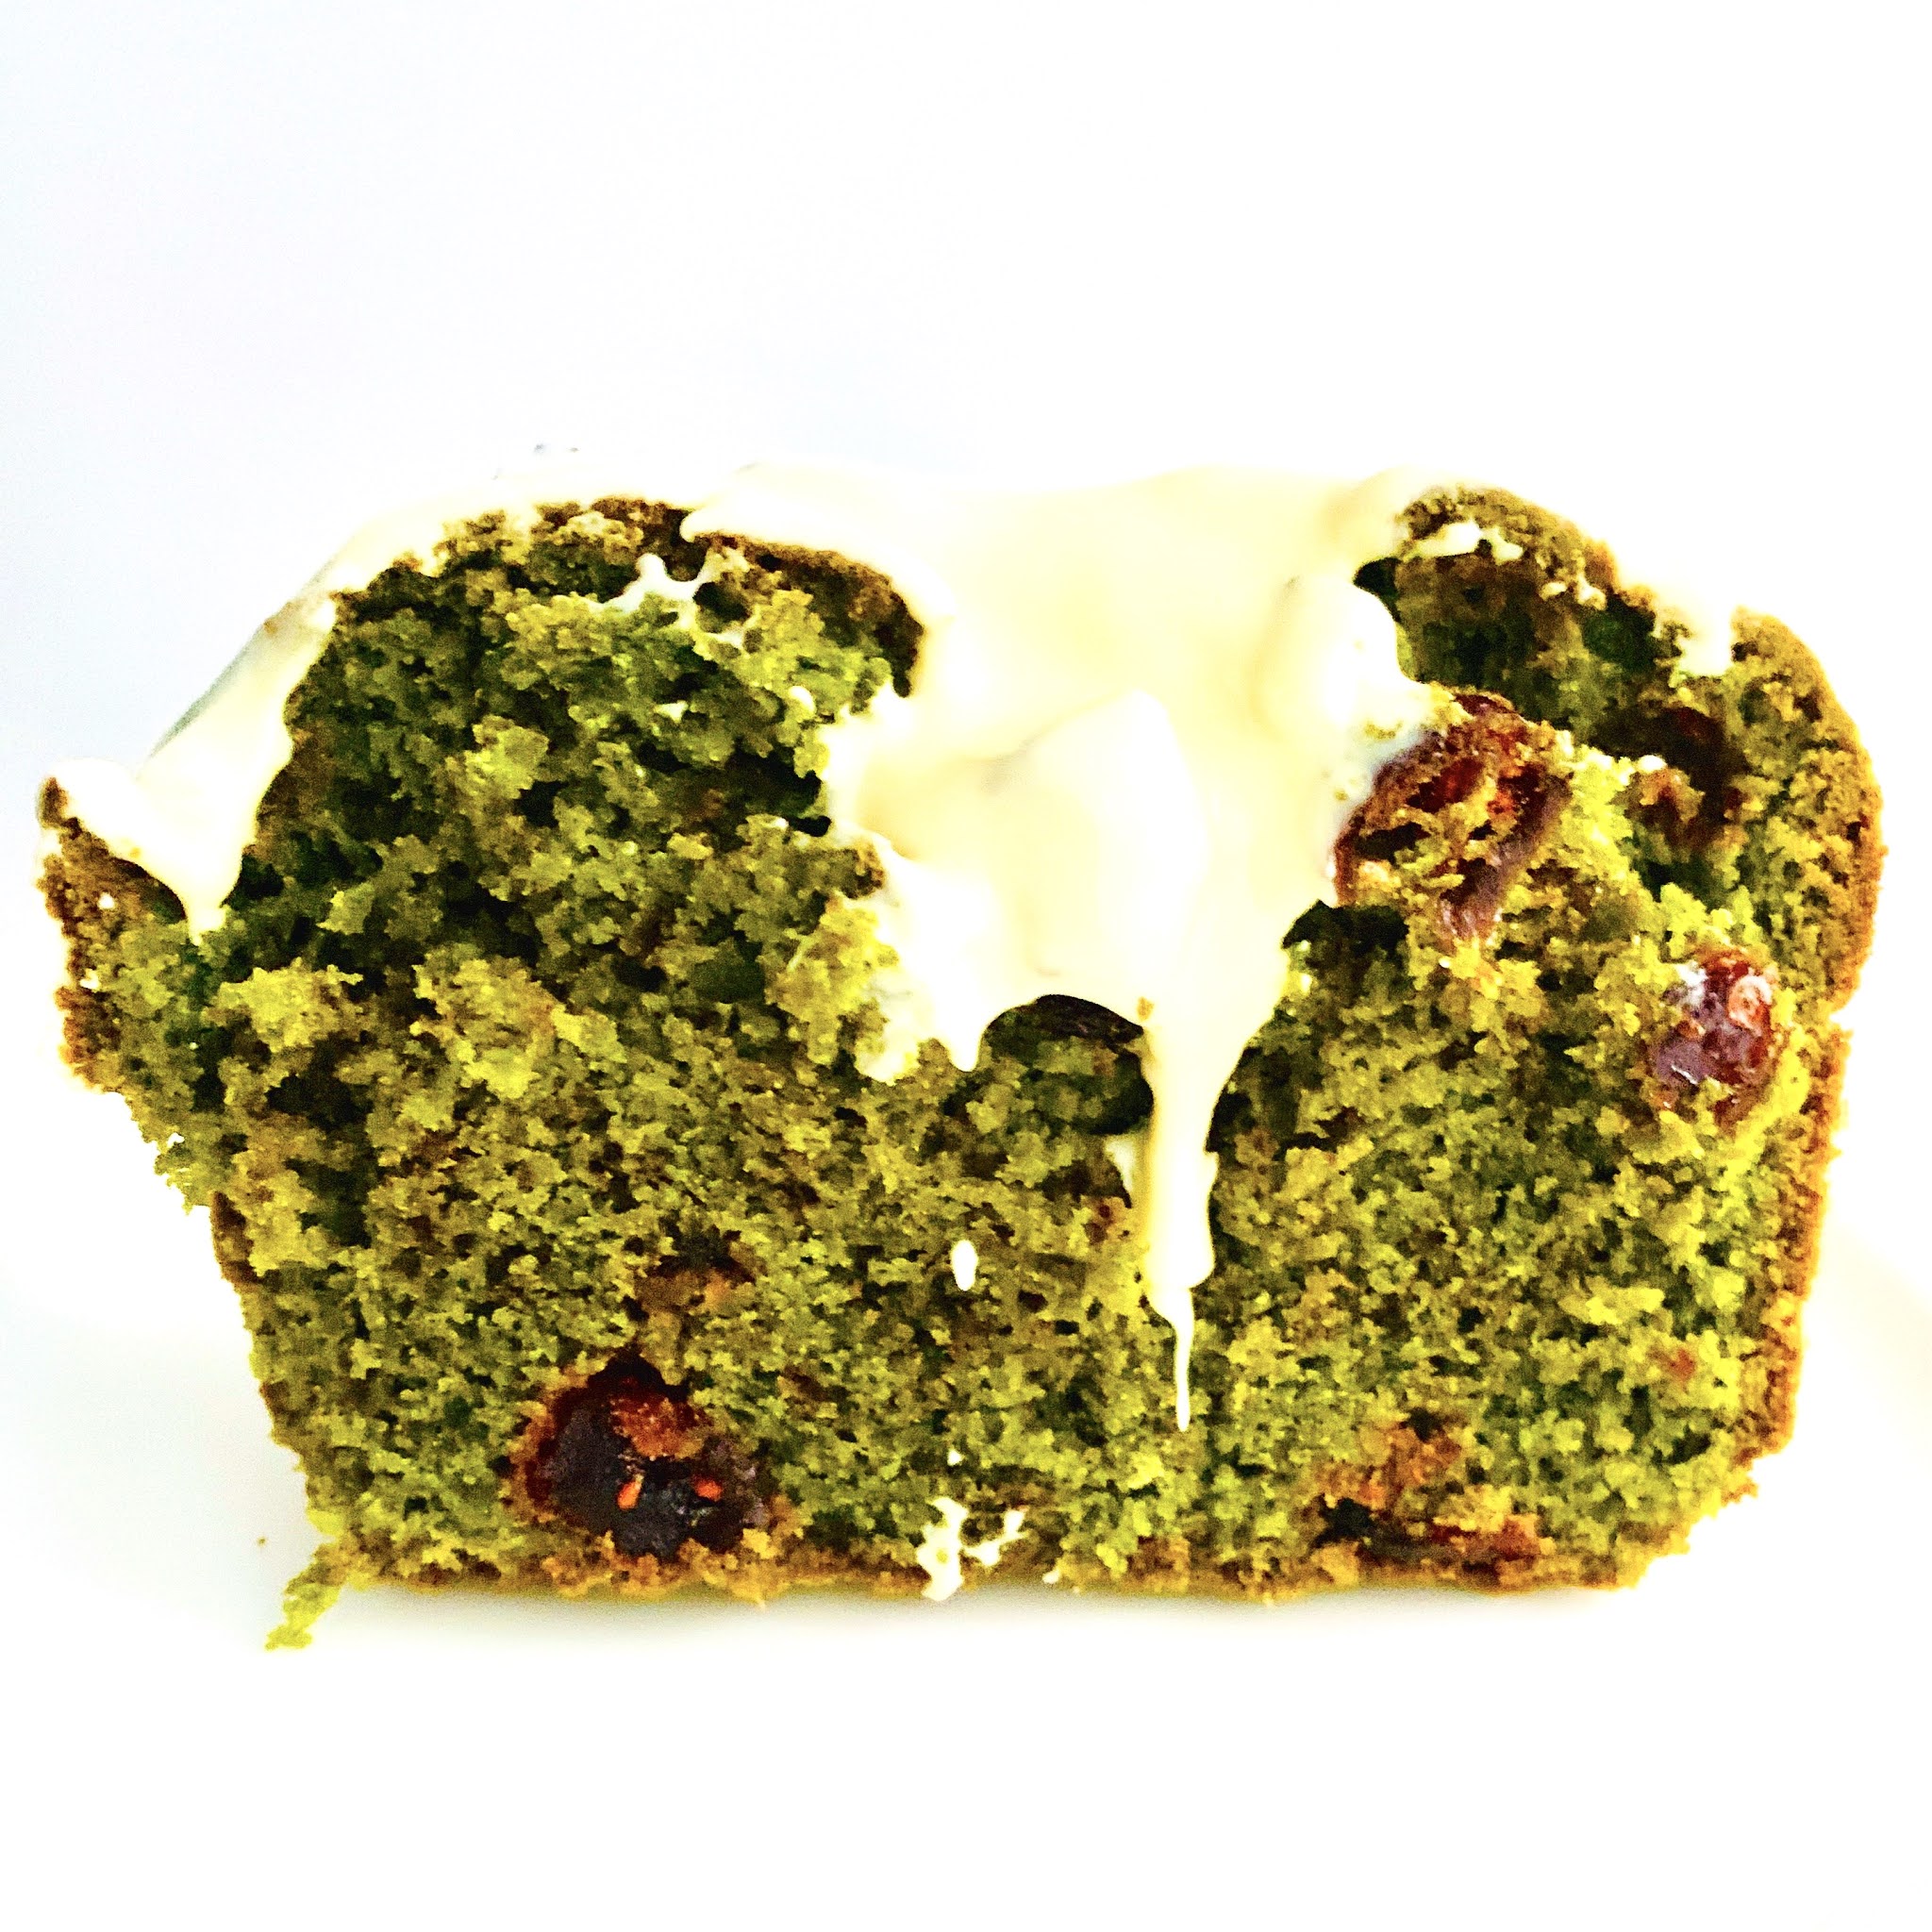
Now we have covered the base, let's go green, because up until now it is more or less a sand cake or a Madeira cake, but without lemon and, um, Madeira. I suggest adding at least 10% of the flour's weight in Matcha, I took almost 30g for the one shown here. The easiest way is to mix it under the flour in step 2. Cannot get much easier, can it? In case you might ask, I did NOT reduce the amount of flour, but I dare you to experiment, that should work as well, you might have to add some minutes to the baking time then.
As for the cranberries, I took some already soaked in Agave syrup, cut them in halves and quarters (euphemism for wild hacking using a huge chopper) and then rolled them in flour. Need to know why? Well, try without. Many ingredients like dried fruits and such have a tendency to end up on the bottom of the finished cake, covering them in flour before adding them to the dough seems to somewhat keep them from completely free flowing into the abyss. And this already is the final step, add about 80% of the berries to the dough, fill it into the baking mould, add the remaining berries on top and then let the heat do its magic.
When the cake has cooled down, cover it with white chocolate or whatever you consider appropriate.
Enjoy. I can tell you, I did. I was never too fond of Matcha-based food, certainly not Matcha Latte and also not Matcha cakes or even Tiramisu. I tend to believe that most commercial products use very low quality Matcha and/or not enough, so often the produce might look green, but the taste is mostly rather dull. Of course I can sympathise with these bakers, good Matcha has its price, but when I want a cake to just look green, I might as well add food colouring or grass.****
P.S.: Yes. Of course. Many other variations can be derived from this basic recipe. My personal favourite is marble, chocolate (add top notch dark chocolate powder) or lemon (add zest and juice) cake. In case you want to go nuts (or almonds) I suggest partially substituting the flour with the ground nuttiness. But this was about Matcha, so let us not divert further.


* Or any other amount in any unit you prefer, but then YOU do the math with the amount of baking powder.
** Make sure sugar crystals are mostly dissolved, otherwise the final cake might not appear as desired. This works best with butter at room temperature. In a heated room, not an igloo.
*** Ideal amount may vary. Most recipes recommend 8g, but I am happy with the results at 15g.
**** No, not THAT grass. THAT does not give much colour. And I do not know about THAT anyway.


